How to Homebrew
This is GrayPockets's suggestions regarding Homebrew characters, scripts, and art.
Creating a Homebrew Character
Still Under Construction
- Some folks use BloodStar or Klutzbanana.
- GrayPockets edits JSON manually using Visual Studio Code.
- Official JSON Homebrew instructions are at the ThePandemoniumInstitute GitHub.
- Homebrew versions of official characters are at the Released as Homebrew Github.
Creating a Homebrew Script
NYA
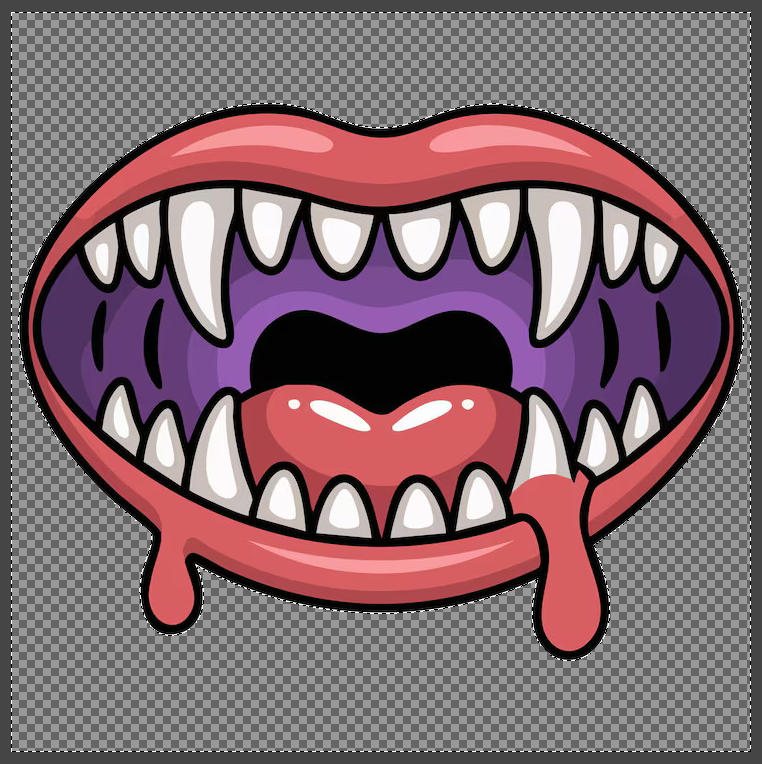
Creating Homebrew Character Art
Creating Homebrew character art is not as simple as you'd think. This kind of art is created like any other kind of art, with creativity and time.
GrayPockets is not the best artist, so if you learn how to do this you'll probably do better!
There are some free tools out there such as Klutzbanana and Ravenswood Studio that can perform this process. The below is an example using a manual (still free) process.
There is no perfect process for this. Be patient: some icons will take a long time, some are pretty quick.
Find the official icons at BOTC Community Resources for comparison and inspiration.
- Install Gimp, it's a free and open source software tool to design art (similar to Adobe Photoshop).
- This tutorial assumes a basic understanding of the software, teaching how to use Gimp is beyond its scope. Here is a link to the list of Gimp Community Tutorials.
- Duplicate layers can hold a place, which can save valuable backtracking time.
- Find or create the base image to use for the character.
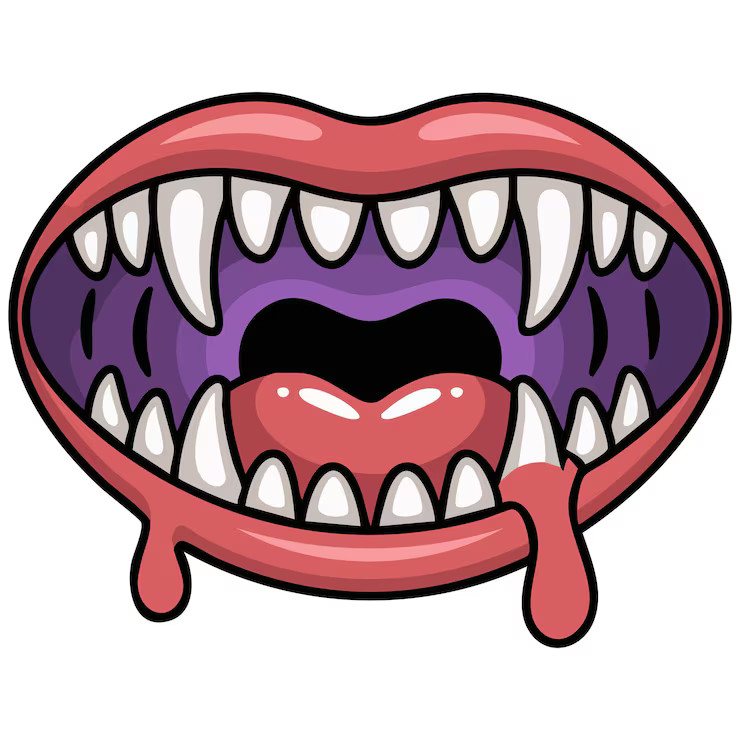
- It will save time if the base image is already styled as an icon.
- Teaching the creation a base image is beyond the scope of this tutorial.
- Support local starving artist and pay them to make the base image.
- Do a Google image search for examples.
- Open Gimp.
- Open the base image.
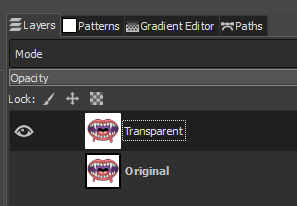
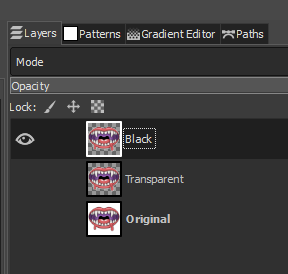
- Duplicate the layer and hide the original.
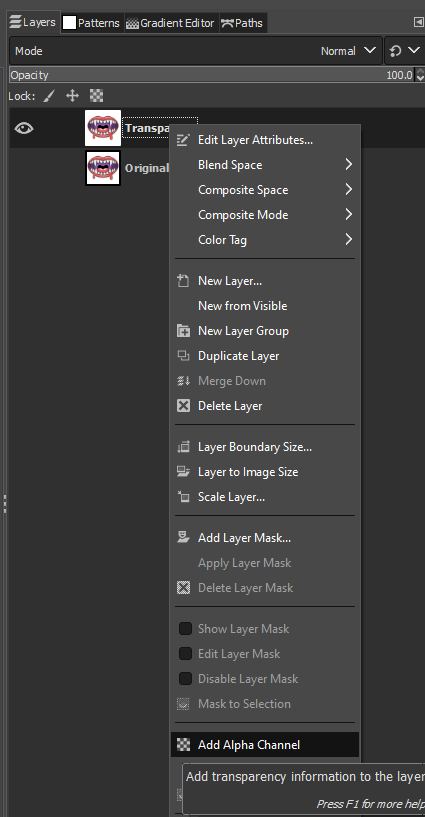
- If it doesn't have one already, add an Alpha Channel to allow transparency.
- Delete the background using the Select Tools (Rectangle, Free, and Fuzzy) so that the background becomes transparent.
- Image->Crop to Content

- Duplicate the layer and hide the original.
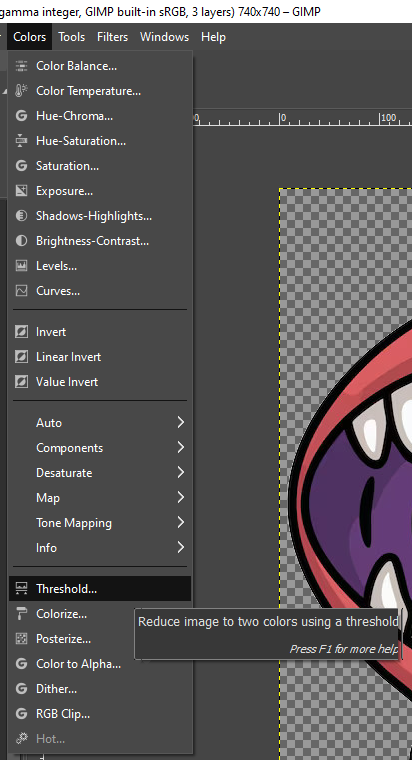
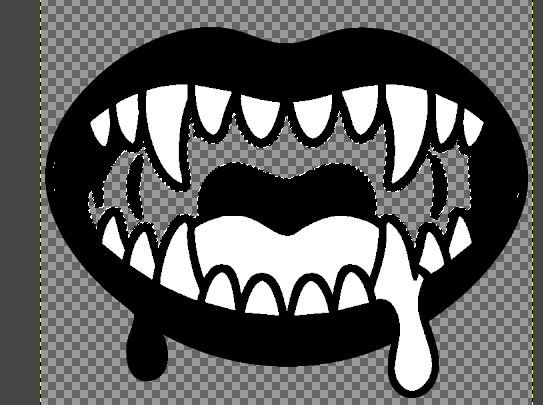
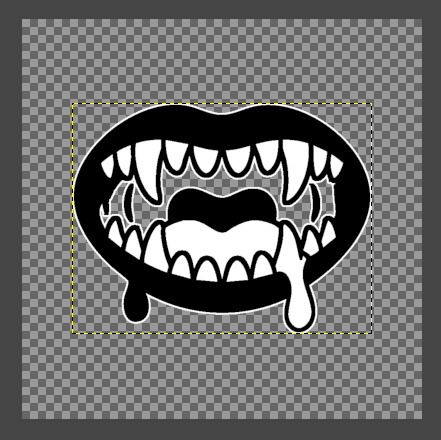
- The main icon should be black or mostly black. There are various tools to do this, and you may need to mix and match.
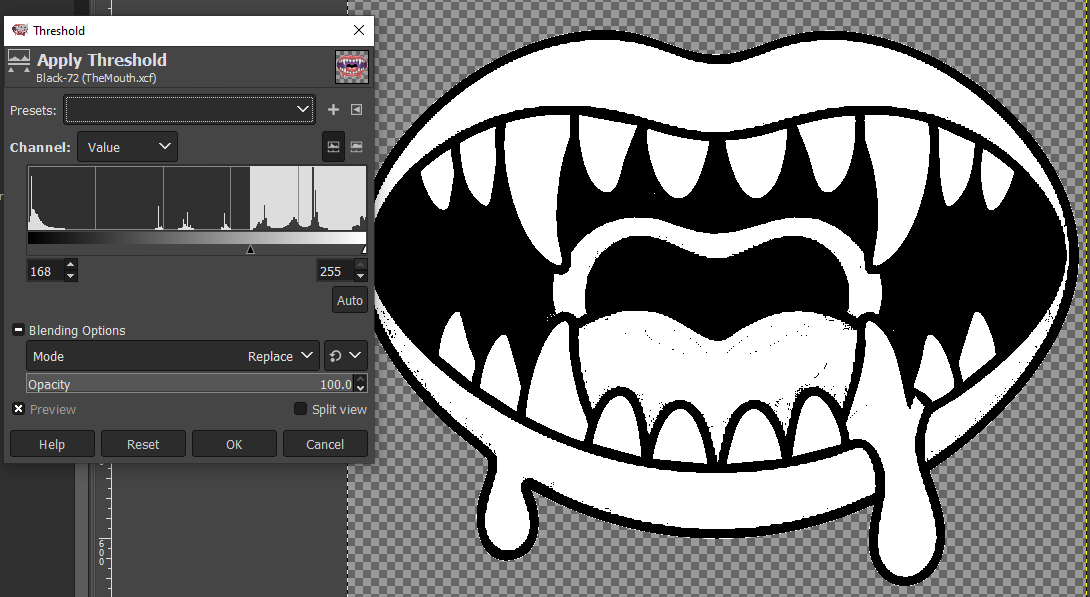
- Blacken the Colors
- Color->Threshhold
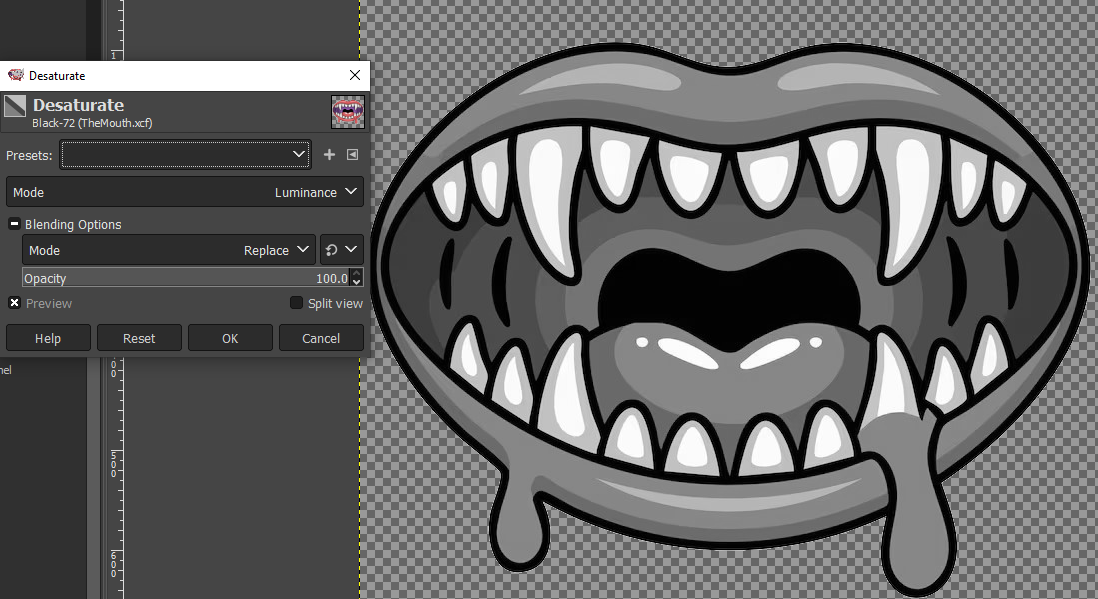
- Color->Desaturate
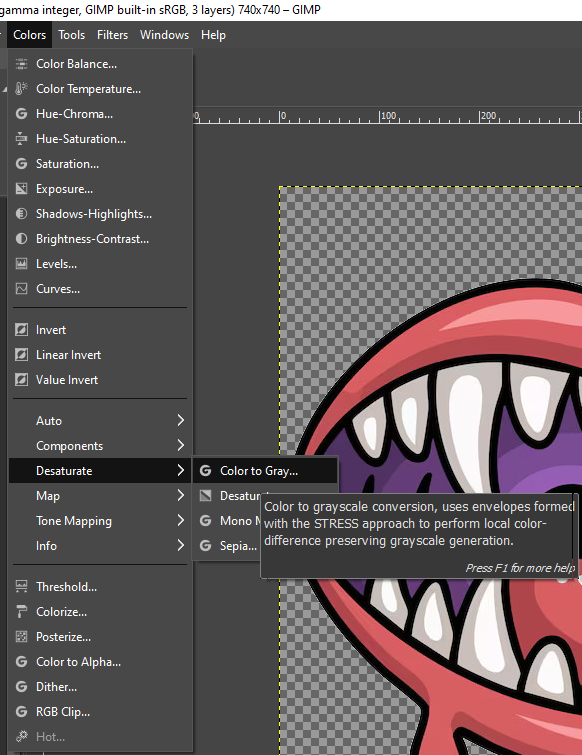
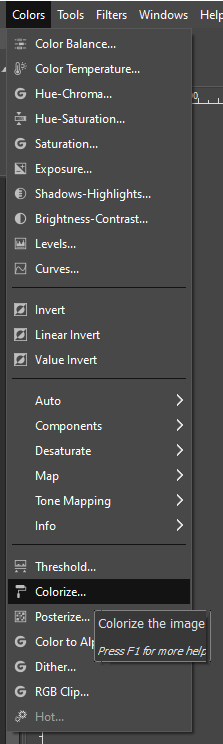
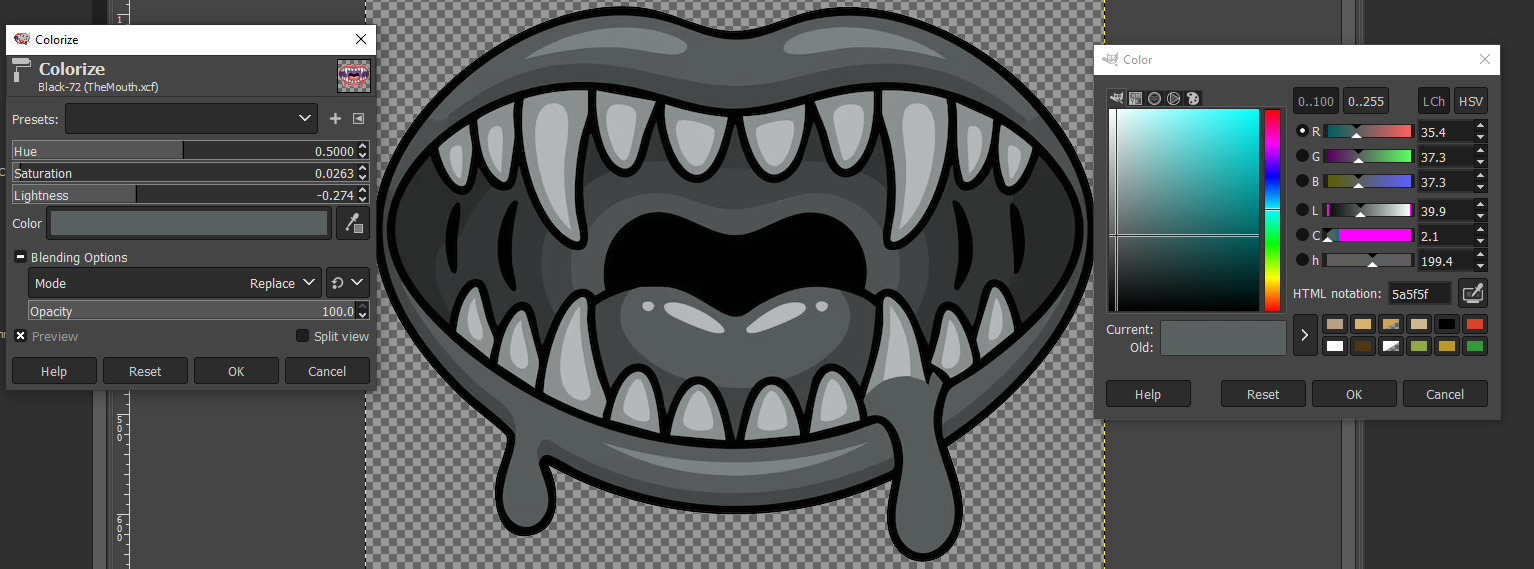
- Color->Colorize
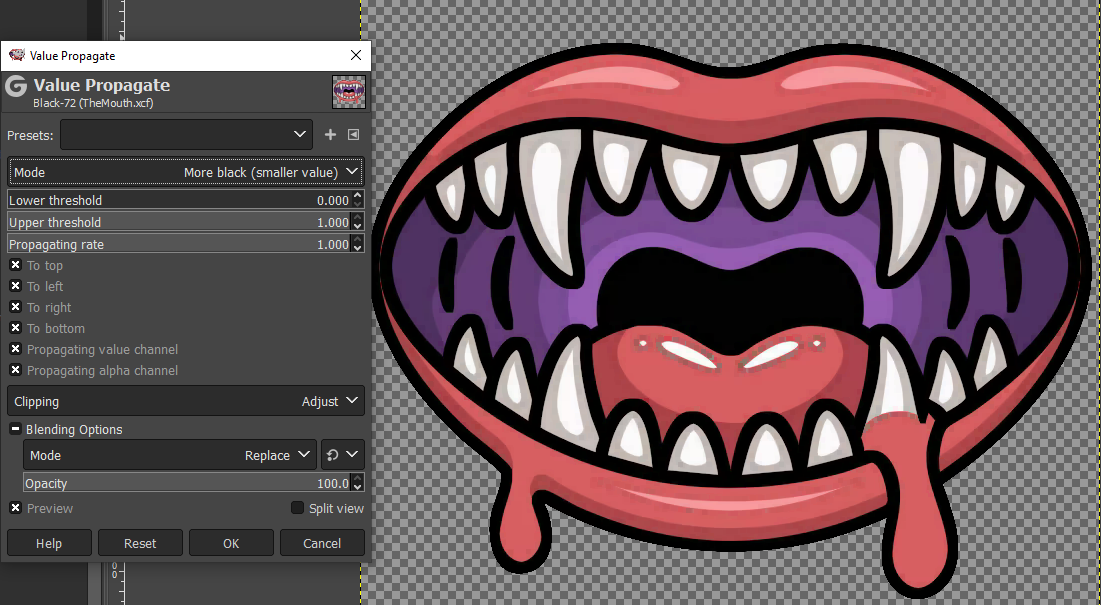
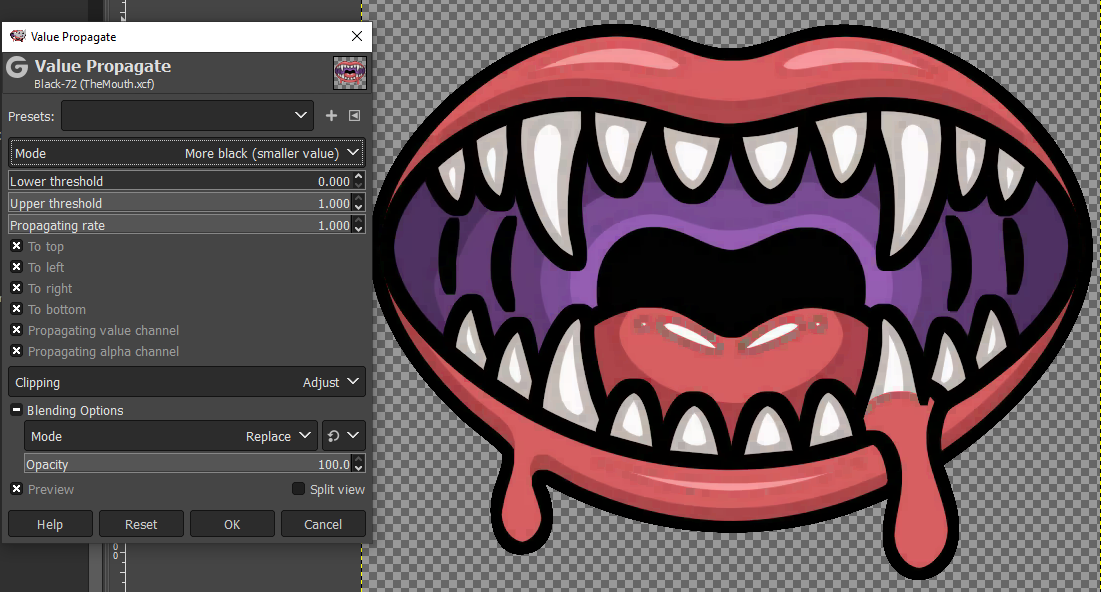
- Filters->Distort->Value Propogate

- Mode "More black (smaller value)"
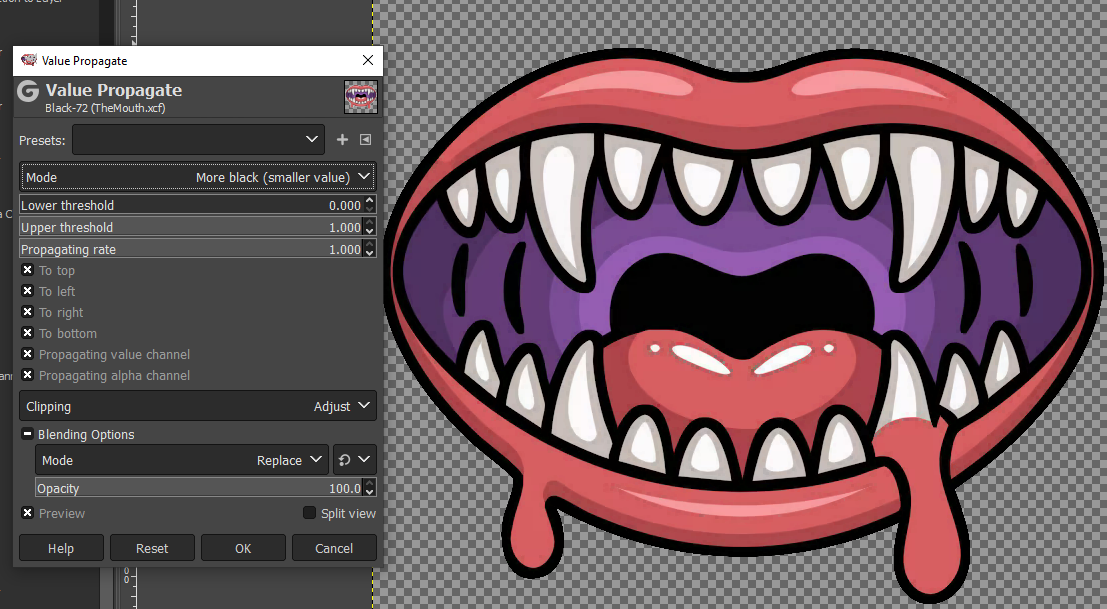
- Perform it multiple times.
- Mode "More black (smaller value)"
- Color->Threshhold
- Cleanup the image.
- Delete large white areas.

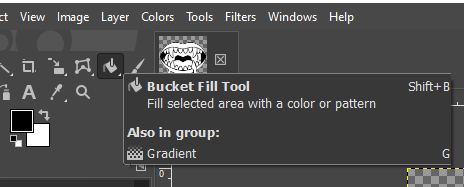
- Fill in black areas using the Bucket Fill Tool.
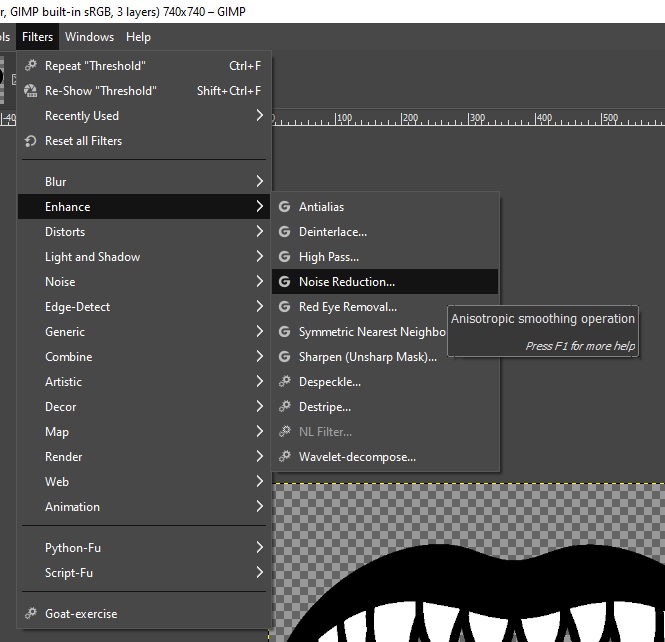
- Filter->Enhance->Noise Reduction

- Delete large white areas.
- Blacken the Colors
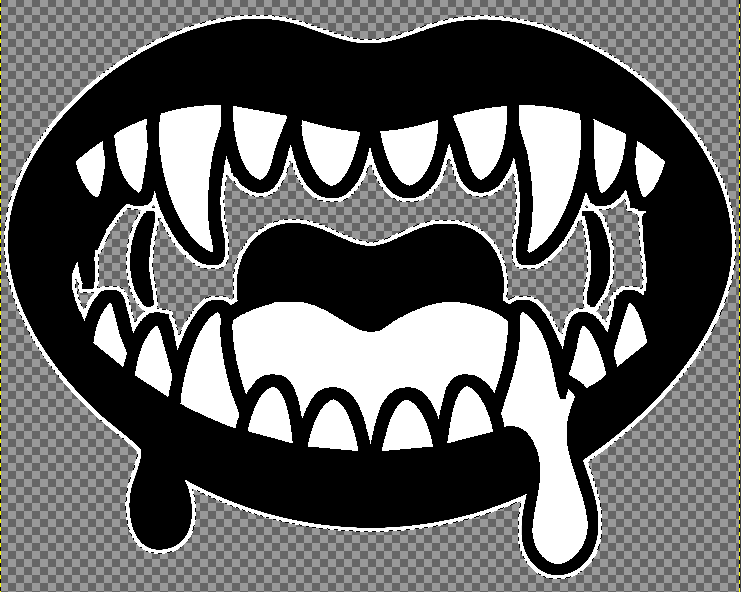
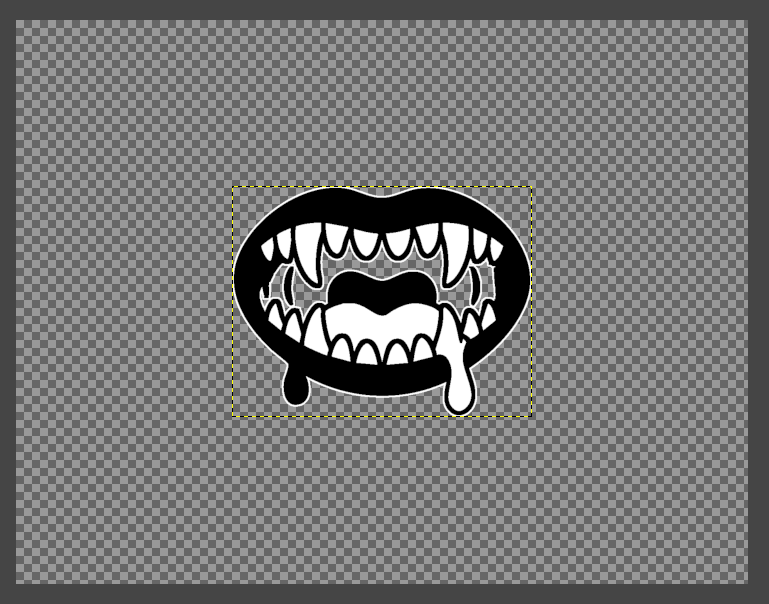
- Outline the Icon in White
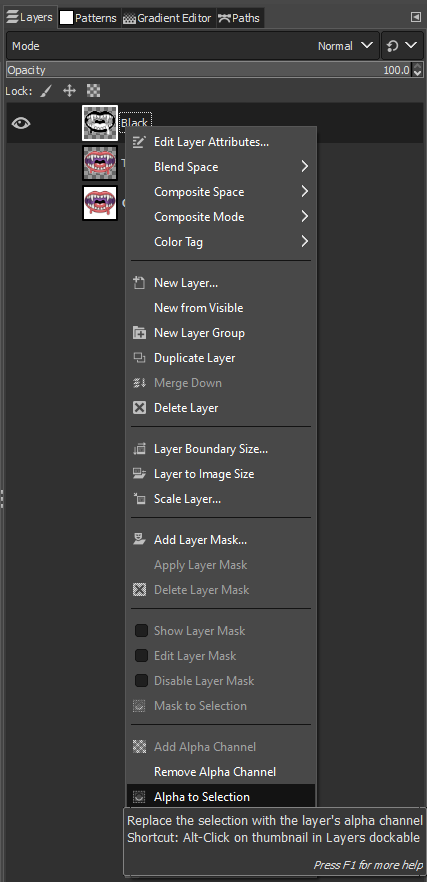
- Layer->Alpha to Selection
- Select->Grow
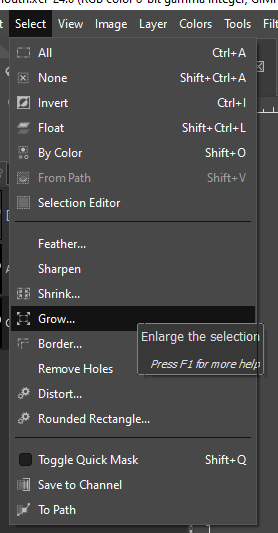
- 1-4 px depending on the image size.
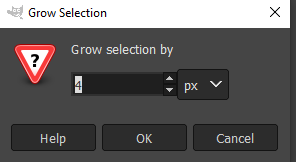
- 1-4 px depending on the image size.
- Create a new empty layer underneath the current layer and switch focus to it.
- Use the Bucket Fill Tool with White.
- Layer->Alpha to Selection
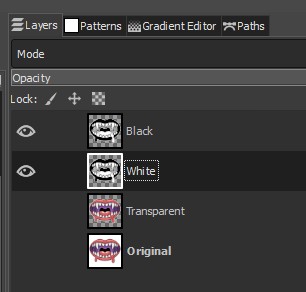
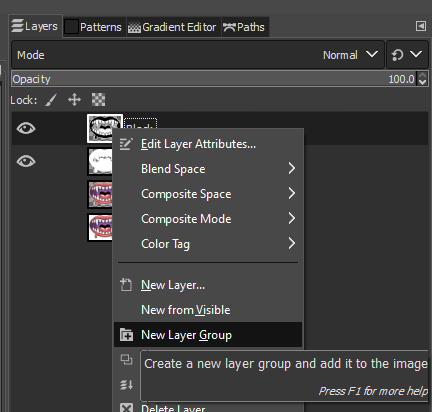
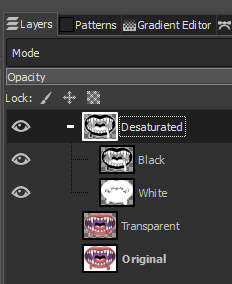
- Create a new layer group, place the black and white layers inside it.
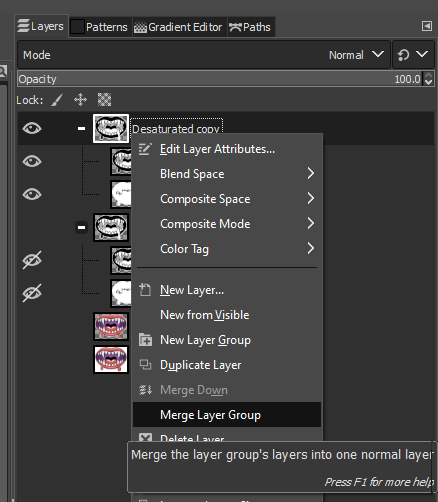
- Duplicate the layer group, hide the original, and merge the layer group.
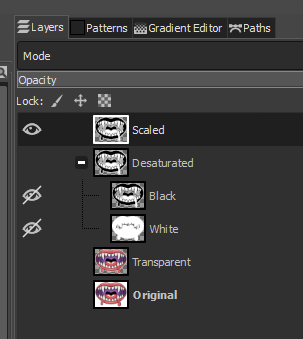
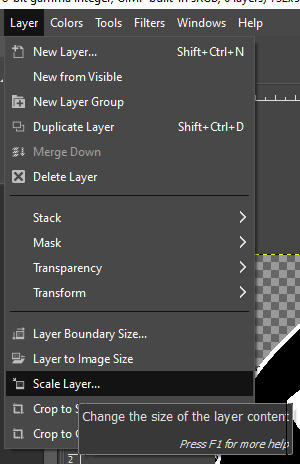
- Scale the merged layer.
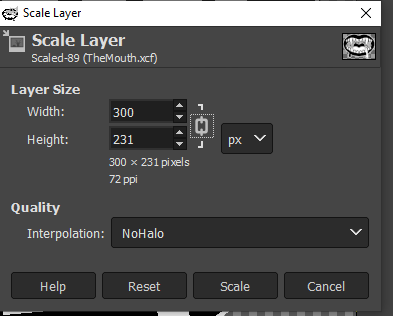
- BOTC Wiki images have a maximum height or width of 350px.
- Official BOTC App images have a maximum height or width of 300px.
- Set the image properties.
- Image->Print Size, set to 72dpi
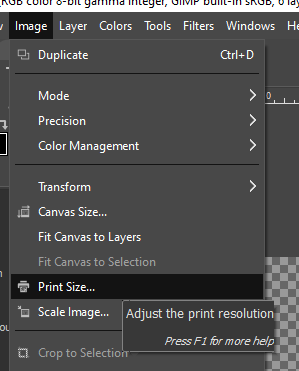
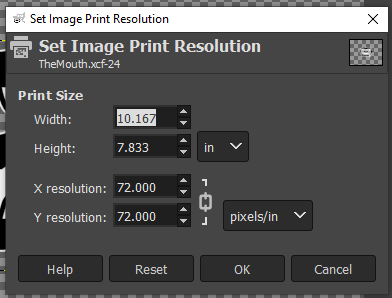
- Online BOTC-style wiki and Official BOTC App images are 72 dpi.
- Print images are 300 dpi.
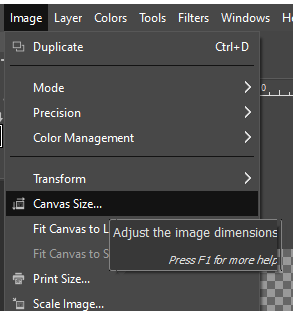
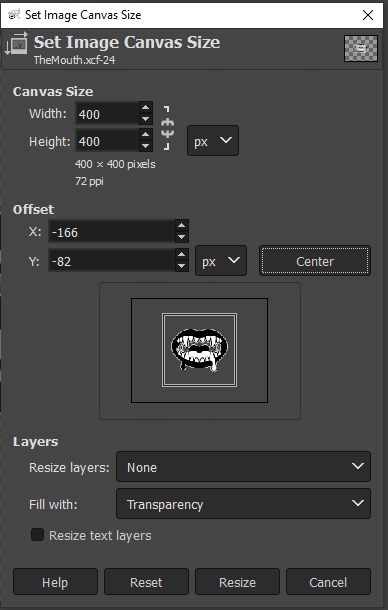
- Image->Canvas Size
- BOTC-style wiki and print images are 591x591px.
- For Official BOTC App images are 400x400.
- Image->Print Size, set to 72dpi
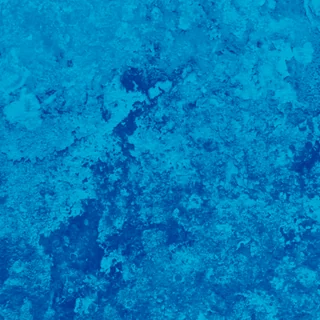
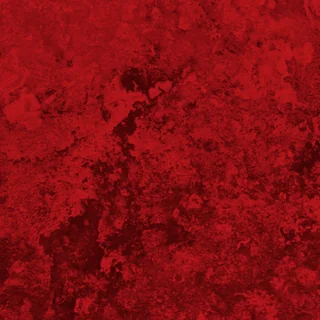
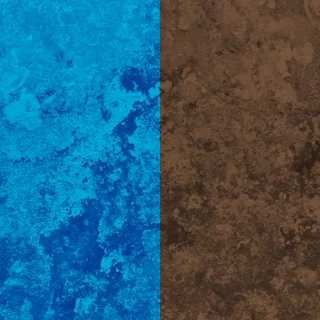
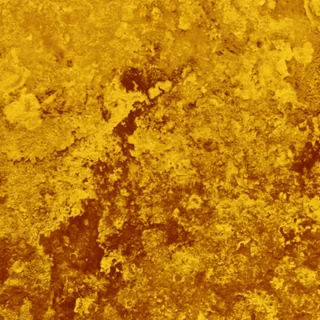
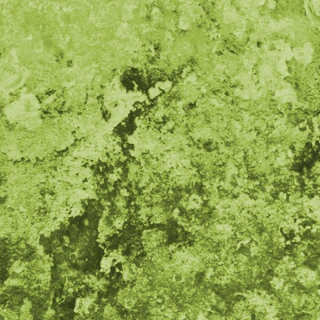
- Find or create a swirly texture matching the alignment of the character you are making.
- Creating such a texture is beyond the scope of this tutorial, so here are some examples.
- GrayPockets did not make these, they were found on Reddit.
- Good Characters
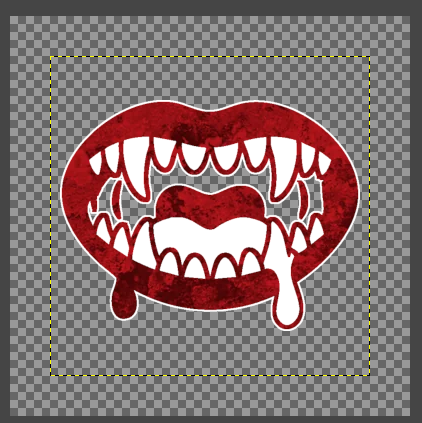
- Evil Characters
- Travellers
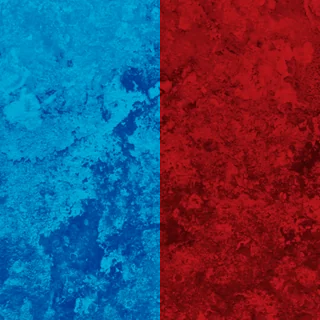
- Good Travellers
- Evil Travellers
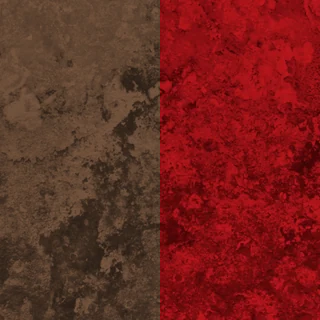
- Fabled Characters
- Loric Characters
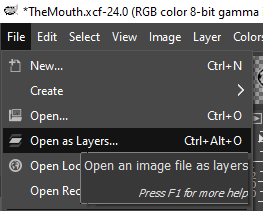
- File->Open as Layers

- Set the texture layer to Mode Addition
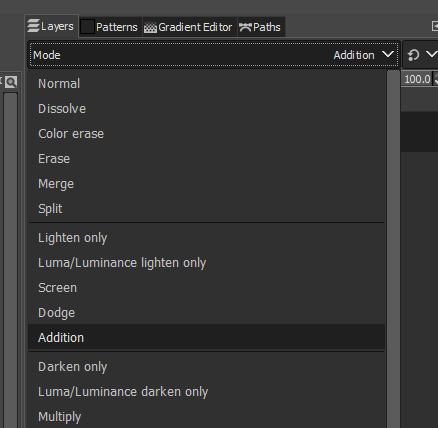
- Leave the Opacity at 100%
- Repeat this process for alternative alignement textures when required.
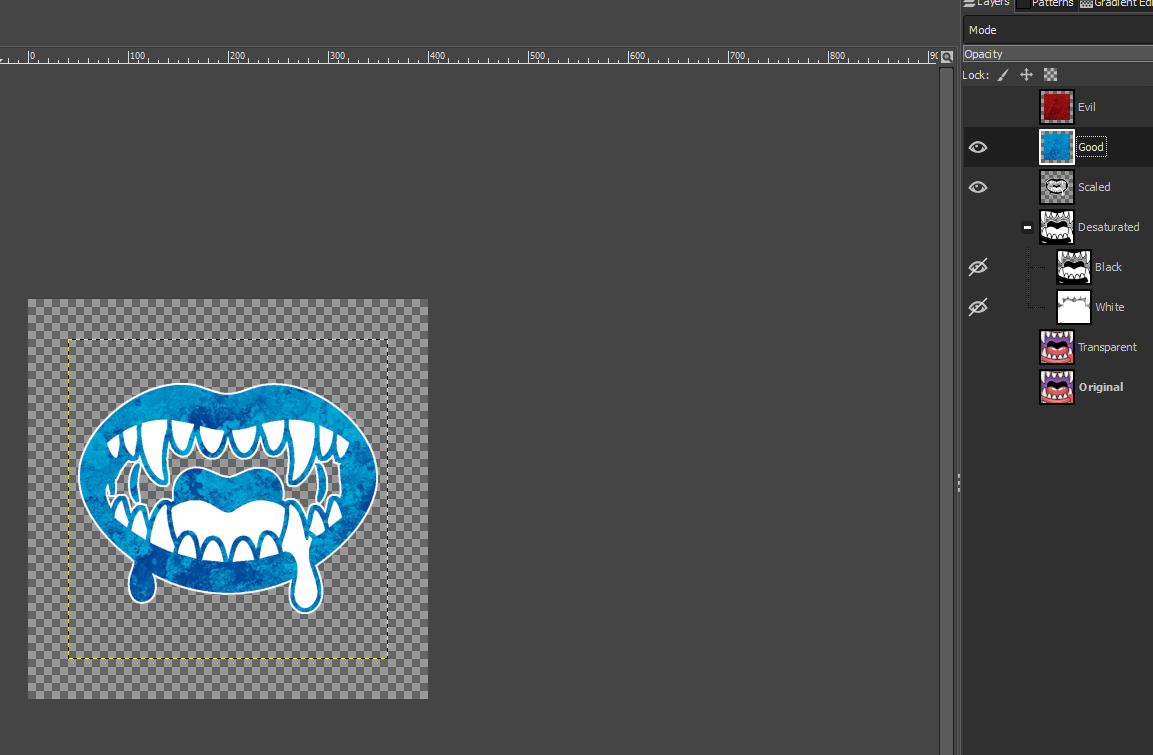
- Hide the texture not currently in use.
- Good and evil characters will need the opposing alignment.
- Travellers will need a default, good, and evil version.
- Creating such a texture is beyond the scope of this tutorial, so here are some examples.
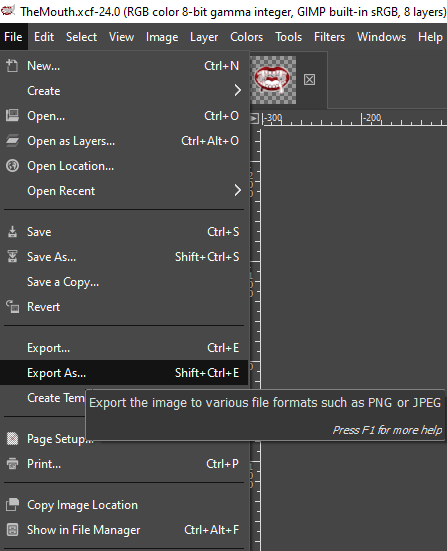
- Export the image as a .png file. It is recommended to name them with an alignment suffix if applicable.
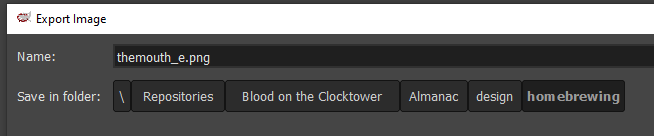
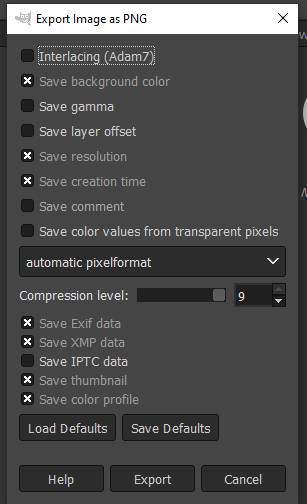
- Good alignment suffix example: "_g".
- Evil alignment suffix example: "_e".
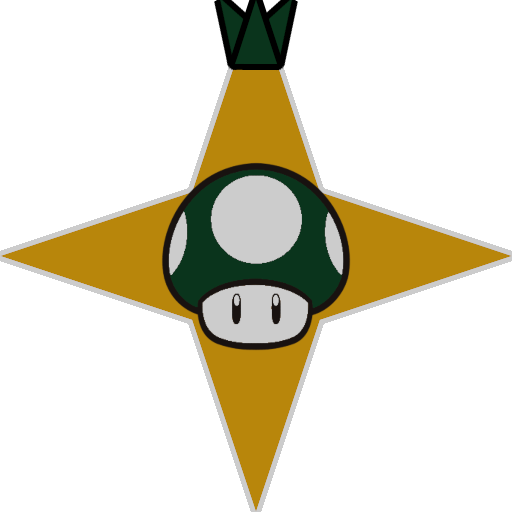
- Review the completed icons!
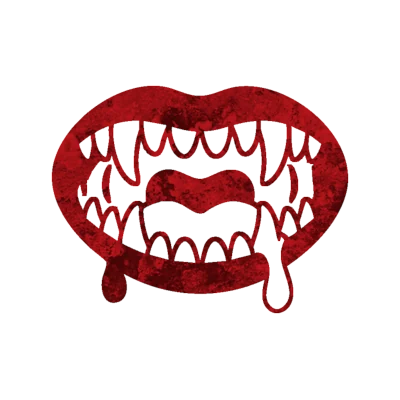

- Gimp file example.
- Upload completed icon files to an image host such as Imgur, Github, or even DeviantArt.
- Official BOTC App will not display an image without hosting it online.
- The image host must have public CORS settings. Public image hosts are sure to have this set correctly.
- I use my own hosting, but the above will work for most people.
- Add hosted image urls to a homebrew script JSON..
"image": [
"https://imagehost.example/themouth_e.png",
"https://imagehost.example/themouth_g.png"
],Full JSON example.
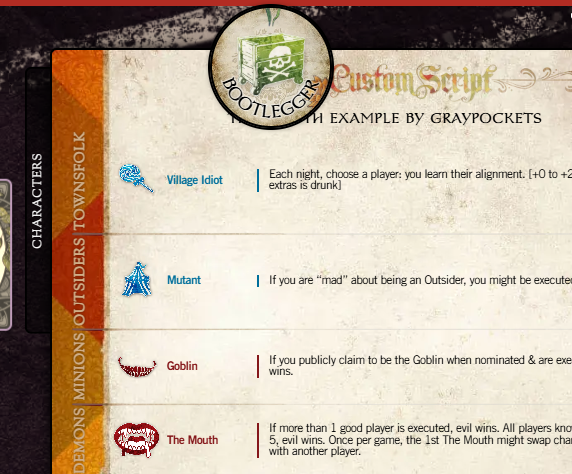
Find additional instructions above. - Review the completed script!
Creating Homebrew Script Background Art
NYA
Creating Homebrew Script Print Art
NYA